How To Grade Pokemon Cards: What Collectors Should Check First
Grade only after identity, condition, and value make sense.
Before grading Pokemon cards, slow the decision down. Confirm the exact card, authenticity, condition ceiling, raw value, likely graded outcomes, total cost, and the reason the slab helps. If those pieces do not line up, the card may be better raw.
Grading is not just a form. It is a collector decision with money, time, grade risk, and opportunity cost attached.
- Confirm the exact card before comparing any graded prices.
- Inspect condition more strictly than you want to.
- Compare likely grade outcomes, not only the highest grade.
- Decide what the slab is for: protection, sale trust, registry, display, or personal meaning.
- Use a watchlist or portfolio note when the grading case is not ready.
Confirm the exact card
Card identity comes before condition. Make sure the name, set, number, rarity, language, and variant are correct, because the wrong card record makes every graded-price comparison noisy.
Use Explore to lock the card page first. Then compare the physical card to expected details: art, set symbol, collector number, holo or texture treatment, and language.
Identity also protects the grading decision from a common shortcut: treating a character name as a card record. Pikachu, Charizard, Gengar, and Eevee cards can have many versions with very different raw values, graded spreads, and condition expectations. If authenticity is uncertain, pause the grading question and use how to tell if a Pokemon card is fake before comparing slabs.
Before grading, anchor the decision to the exact card. The graded upside only matters if the version and condition match the market you are comparing.
Inspect condition like the grader will
Binder eye is generous. A card can look clean in a sleeve and still have the one flaw that changes the grading case.
Work one pass at a time instead of trying to see everything at once: corners for whitening, edges for chips, surface for scratches or dents, centering on front and back, then print lines, pressure marks, foil scratches, and any bend or crease. Use angled light and a clean surface. Do not decide from a sleeve photo.
Start with the front under normal light, then lower the light angle and rotate the card slowly. Normal light shows eye appeal. Angled light catches dents, roller marks, print lines, holo scratches, and surface impressions that can disappear in a sleeve. Repeat the same check on the back, where whitening and edge wear often stand out more clearly.
Corners and edges should be inspected separately. A card can have clean front appeal with one soft corner or a small white chip on the back edge. Surface is the slowest pass because it includes scratches, dents, stains, residue, print defects, foil wear, and pressure marks. Centering should be judged on both sides because a front-centered card can still have a weaker back.
Photos help because they slow the decision down. Take a straight-on front, straight-on back, and a few angled shots before you decide the grade range. If the photos make the flaw obvious, it belongs in the lower-outcome math.
For a modern textured or holo card, the pass looks like this: put the card on a clean dark mat, remove the sleeve only if you can do it safely, and use one normal-light pass plus one low-angle light pass. The goal is not to guess a number. It is to find the flaw that changes the grade range.
Begin with centering because it costs almost no handling time. Compare left to right, then top to bottom, on the front and back. A front that looks close to 55/45 can still have a weaker back. Note the direction: "front left-heavy" is more useful than "centering okay."
Flip once and check the back border for whitening. One white dot on a dark back corner can matter more than a clean-looking front. After that, tilt the front holo or texture. Hairline holo scratches, straight print lines, tiny dents, and surface pressure marks usually show under angled light before they show in a scan.
| Issue | How it shows up | What to write in the card note | Why it changes the decision |
|---|---|---|---|
| Centering | One border is visibly wider, especially left/right on the front or top/bottom on the back. | "Front left-heavy; back top-heavy." | The card can be clean and still not belong in the top-grade comparison. |
| Whitening | Small white ticks on back corners or along a dark edge. | "Back top-left white dot visible unsleeved." | Back wear is easy to see once the card is out of the sleeve. |
| Holo scratches | Fine arcs or hairlines appear only when the foil catches angled light. | "Light holo hairlines through right side." | Sleeves, photos, and bright overhead light can hide surface risk. |
| Dent or pressure | A small dish-shaped impression, fingernail mark, roller mark, or pressure spot interrupts the gloss. | "Tiny pressure mark above text box." | A tiny pressure mark can matter more than the card's first-impression appeal. |
| Print line | A straight line runs through foil, texture, or a shiny background. | "Factory line through lower holo." | Even if it is a production issue, it belongs in the grade-range decision. |
- Corners: whitening, bends, soft tips, or peeling.
- Edges: chips, rough cuts, whitening, or visible wear.
- Surface: scratches, dents, print lines, holo wear, or residue.
- Centering: front and back borders compared honestly.
- Structure: creases, bends, warping, or pressure marks.
The checklist is not a promise about the grade. It is a way to decide whether the card deserves more research, a watchlist entry, or a submission plan.
What the checklist cannot tell you
A collector checklist is not a grading-company result. It cannot tell you how a grader will weigh a specific print line, whether a tiny surface impression will cap the grade, or how the market will price that exact grade after the card returns.
That is why the note should stay descriptive. "Two white ticks on the back edge and one light holo scratch" is better than "probably a 10." If the flaw is hard to describe, take another angled photo and compare likely outcomes one grade lower.
It also cannot prove authenticity by itself. Matching the set number and texture is useful, but suspicious cardstock, color, holo pattern, print quality, or source history should move the card into a fake-card check before any grading plan.
The checklist is best used as a veto tool. It can show that a card is not ready, that the likely grade range is too wide, or that value work needs to come first. For the value side, use how to check Pokemon card value before treating grading as the next step.
Compare realistic outcomes
Do not compare raw value only to a perfect grade. Make a small ladder.
Write the ladder for the grade you expect, one grade lower, and one grade higher. If the case falls apart below the top grade, the card needs very strong condition evidence. When the question is specifically the one-grade premium, compare PSA 10 vs PSA 9 before submitting for that spread.
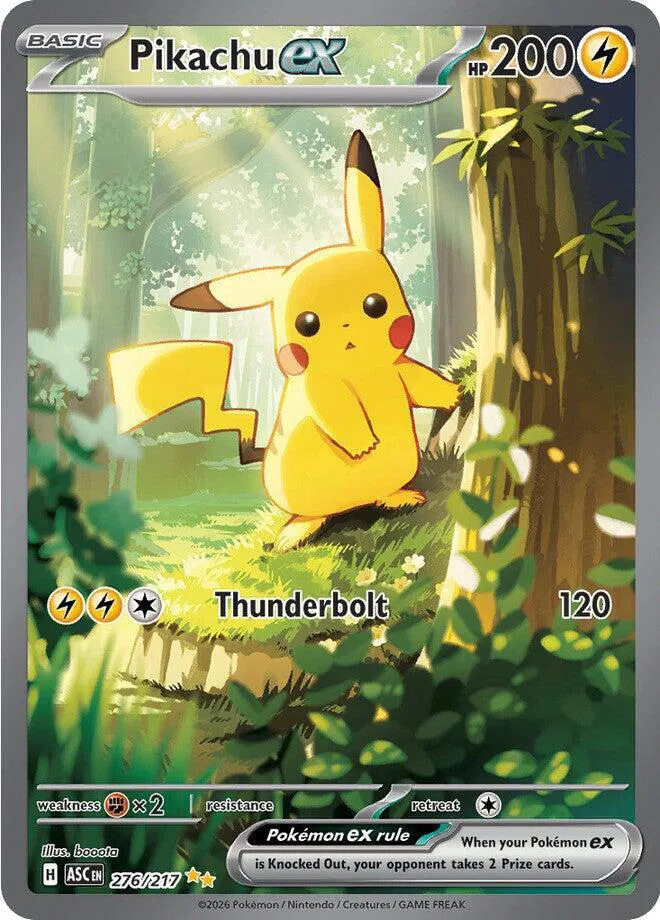
For Pikachu ex, a note like "front sharp; two white ticks on back top edge" points to a more useful ladder than raw versus perfect slab. Compare raw, the likely 9-level outcome, and one grade lower after shipping and fees.
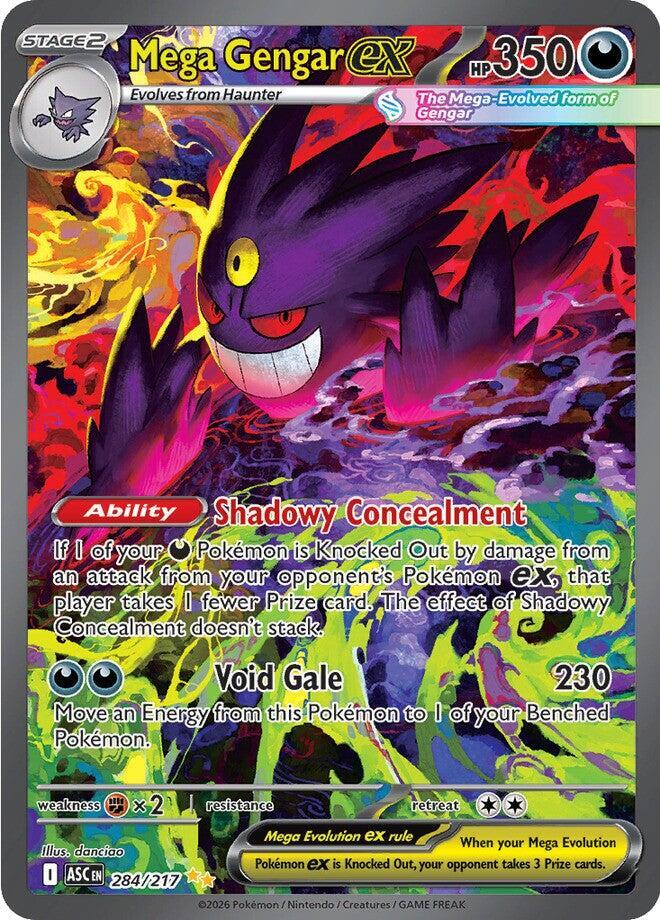
For Mega Gengar ex, a tiny pressure mark in the texture is enough to slow the decision. The card may still be desirable raw, but the grading case needs the lower-grade comp before the top-grade comp gets much weight.
Use exact-card context when a card has high upside, then test the one-grade-lower outcome against the actual flaw you found.
| Route | Best when | Check first | Watch out for |
|---|---|---|---|
| Submission-ready | Condition and value both support the route. | Total cost and likely grade range. | Ignoring shipping, insurance, and turnaround. |
| Watch first | The card is interesting but the spread is unclear. | Raw and graded movement over time. | Submitting because of one short-term spike. |
| Keep raw | Binder fit matters more than slab value. | Personal goal and condition notes. | Assuming raw is a failure; it may be the right home. |
| Raw listing | Grading adds cost without enough clarity. | Photos, condition, and comparable raw sales. | Leaving value unresearched on a strong card. |
Have a reason for the slab
A good slab reason sounds specific when you say it out loud: protecting a personal grail, improving buyer trust, completing a graded set, authenticating a high-value card, or preserving an unusually clean copy.
"Maybe it goes up" is not a complete grading reason. Market context can support a decision, but it should not replace identity and condition work.
The cleanest grading decisions are easy to explain after the card comes back. If the slab protects a card you love, supports a sale with clearer trust, or finishes a graded set goal, the route has a real collector job. If the card has to hit the best possible grade for the decision to feel good, the case is not ready yet.
Choose the company after the card
Different grading companies can fit different routes. Resale liquidity, label preference, turnaround, error-card handling, registry goals, and card type all matter.
Start with the card and the reason. Then choose the company that fits the route. A company comparison is easier after you know the card's condition lane and the downside if it misses. The same card can point to a different route when the purpose changes from sale clarity to personal display.
How BinderDex fits
BinderDex keeps the decision attached to the exact card, not just the character name. Use Portfolio for owned cards and notes, Watchlist for uncertain grading candidates, and Explore for card-level context.
Before submitting, write one sentence: "I am grading this card because..." If that sentence is weak, wait.
Also keep the raw-card path visible. A clean portfolio note, a watchlist reminder, or a binder slot can be the better answer while you learn the card's market and condition ceiling.
FAQ
Can I grade my own Pokemon cards at home?
You can inspect and estimate condition at home, but only a grading company can assign its own official grade and slab. Treat the home checklist as a submission screen, not as a promised grade.
What should I check first before grading?
Check exact identity and authenticity first, then condition. A clean-looking card with the wrong set, language, finish, or authenticity story is not ready for graded-price comparisons.
Which condition issue matters most?
There is no universal single issue. Creases, dents, surface damage, whitening, corner wear, centering, print lines, and holo scratches can all matter. The key is whether the flaw changes the grade range enough to weaken the collector reason for grading.
Should I clean a Pokemon card before grading?
Avoid any cleaning method that could add scratches, moisture, pressure, residue, or surface change. If a card needs risky handling to look submit-ready, that is a warning sign, not a grading shortcut.
When should I check grading cost?
Check cost after identity, authenticity, and condition are clear enough to name a realistic grade range. Then use how much it costs to grade a Pokemon card to include fees, shipping, insurance, and time.
What to watch next
- Read How Much Does It Cost To Grade A Pokemon Card? before calculating the route.
- Read PSA vs CGC vs BGS vs TAG when company choice matters.
- Read PSA 10 vs PSA 9 when a one-grade premium is the real question.
Keep watchlist moves separate from your binder.
Download BinderDex on iPhone to track exact cards, organize portfolio decisions, and avoid turning every short-term price move into a buy.